Hello friends,
in my today's post on
Finnabair blog I'd like to share a new layout of mine - I felt like creating something with a fresh, energetic summer mood. The picture I used is a photo taken in my hometown. This is one of my favorite themes and I think it works really great in both - modern and vintage styles.
Some time ago I got a gelli plate. If you don't know it, it's a piece of something resembling gelatin and it is used for monoprinting. You can get some really spectacular effects using this tool.
I've had it for quite a while but somehow all this time I was afraid to use it... ;) But when new
Impasto Paints fell into my hands, I knew it was THAT moment!
I mixed three colors -
Azure,
Cobalt and
Snow White - and created the background for my composition. Thick Impast Paints seem perfect for this technique.
You will be able to watch how I did it in my video below - you will see that it is very easy and the effect is very interesting, although slightly unpredictable. The white dots were added at the very end with acrylic ink.
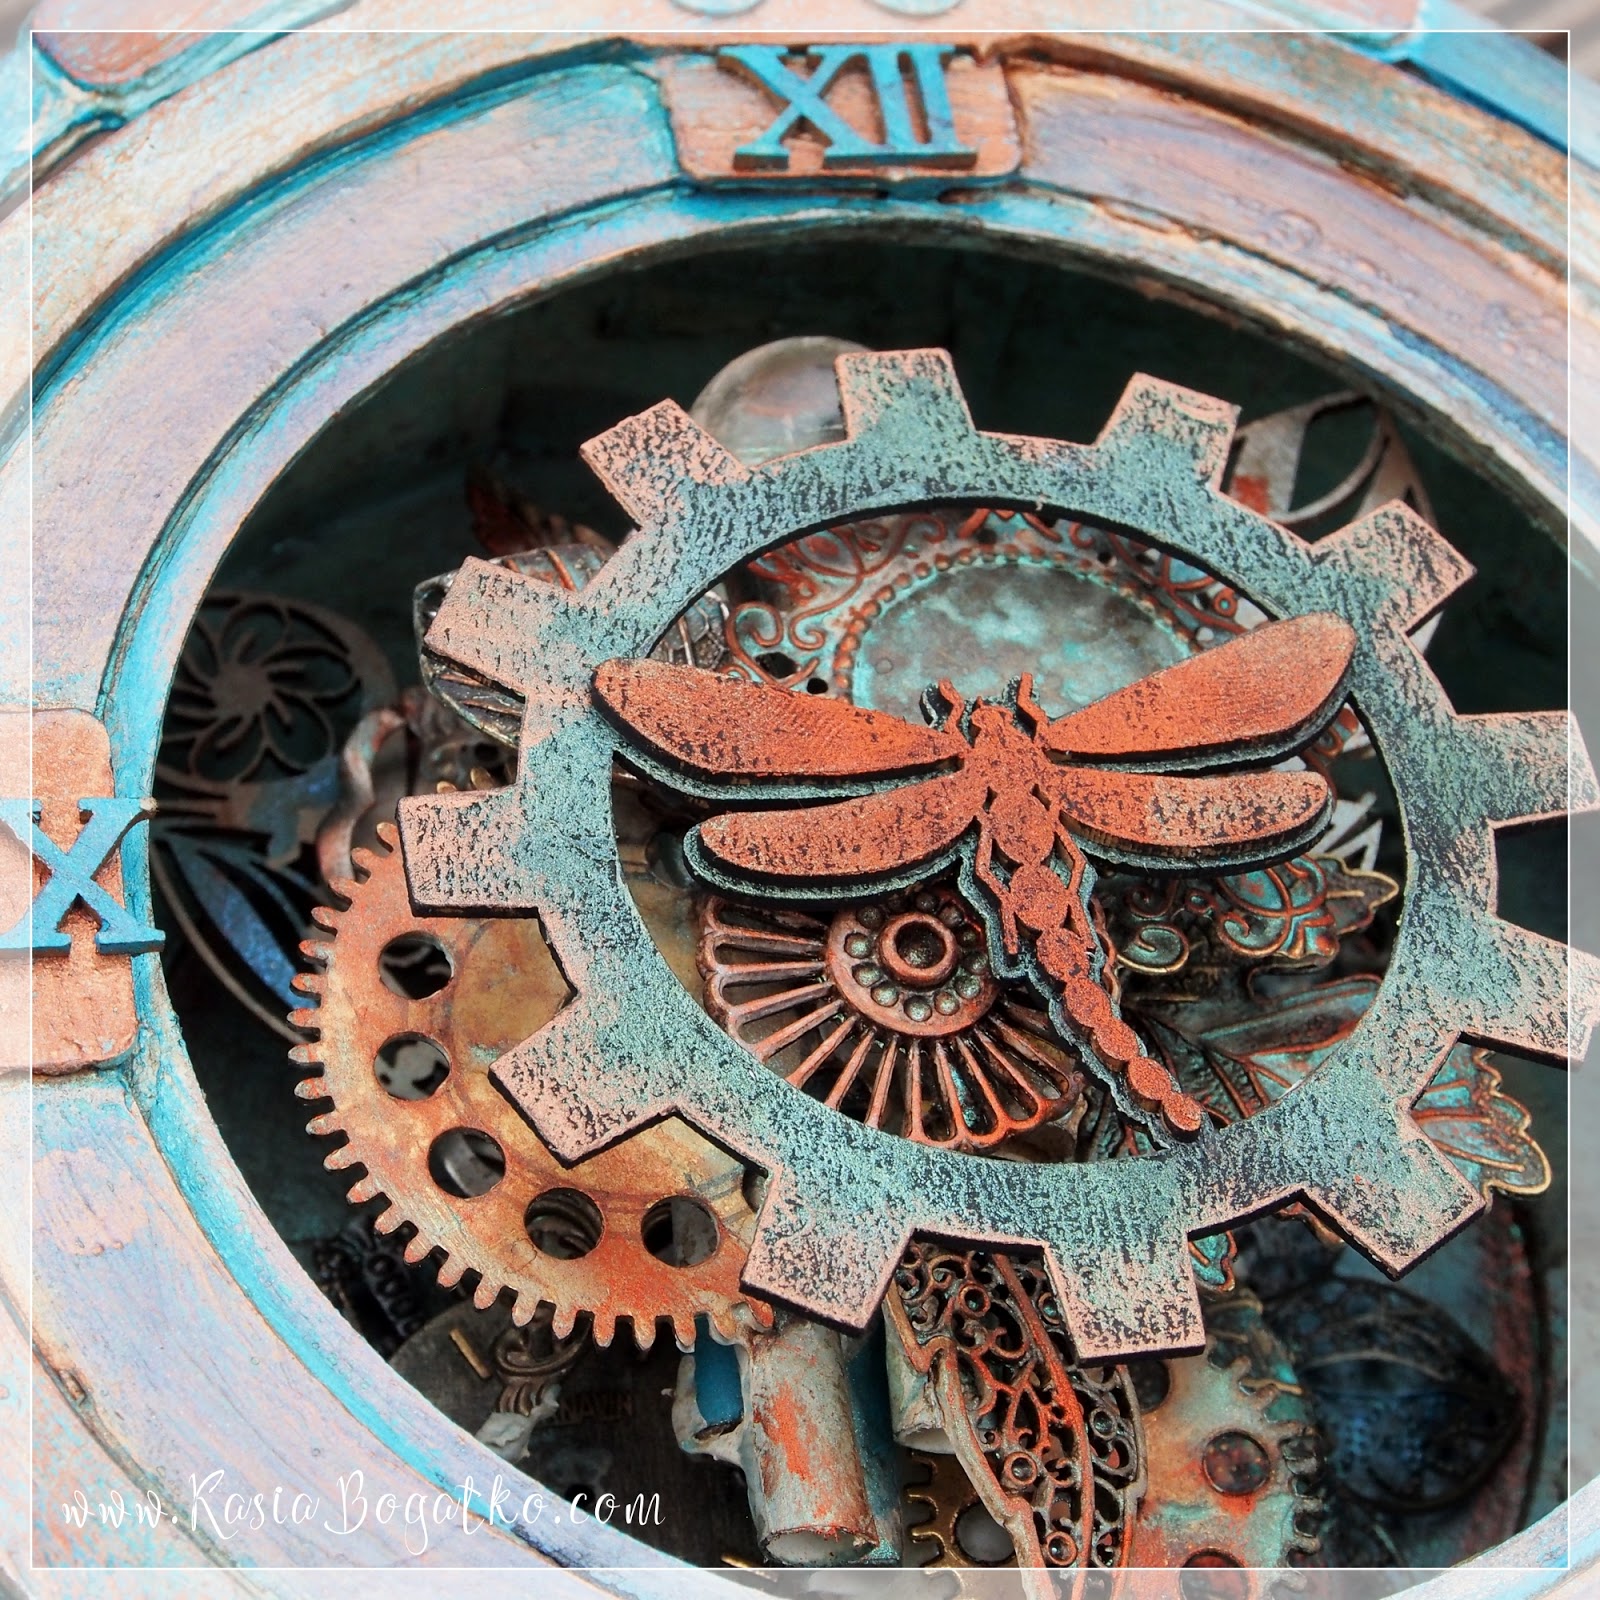
In this project I also wanted to show you how I create depth in my artworks on paper. My works are always very dimensional, with built-up layers of chipboards, piece of papers etc.
Basically, all you have to do is to separate each layer with small pieces of cardboard and then your work will immediately gain this unique 3D quality that makes it look so much more interesting.
I hope you will feel encouraged by my art adventure today and in your next project feel brave to try to use something that scares you. Dare to experiment, try out a new tool or technique - if you have fun and learn to enjoy the process, I'm sure the effects will be wonderful :)
Here's my step by step video, I hope you will enjoy it and feel the Summer Vibe ;) If you have any questions, feel free to leave them in the comments below - I will be happy to help.